- A frontend: lets users connect an integration using the Nango frontend SDK.
- A backend: listens to Nango webhooks and consumes the Nango API to read & write data.
Access the repository
NangoHQ/sample-app
Run the sample app
1
Create an account
- Go to nango.dev and create an account (free).
2
Create a Slack integration
- Go to Integrations and create a Slack integration.
- Set up a Slack app:
- Go to Slack Dev Center and click Create New App.
- Select From scratch for a simpler flow.
- Enter your App Name and select a workspace to develop your app in, then click Create App.
- In the Basic Information tab, copy your Client ID and Client Secret.
- Go to OAuth & Permissions in the left sidebar.
- Under Redirect URLs, add
https://api.nango.dev/oauth/callbackand click Save URLs. - Under Scopes > Bot Token Scopes, add:
users:readchat:write
- Go back to Nango. In the Authorization tab, add:
client_id: from step 4client_secret: from step 4
- In the Endpoints tab, activate
GET /usersandPOST /send-message.
3
Create a Google Drive integration
- Go to Integrations and create a Google Drive integration.
- Set up a Google Cloud project:
- Go to the Google Cloud Console and create a new project (or select an existing one).
- Go to the API Library, search for Google Drive API, and click Enable.
- Go to APIs & Services > OAuth consent screen and configure it:
- Select External user type (or Internal for users within your Google Workspace organization).
- Fill in the required app information and contact information.
- Add the scope:
https://www.googleapis.com/auth/drive.readonly. - Add test users if using External user type.
- Go to APIs & Services > Credentials > Create Credentials > OAuth client ID.
- Select Web application, enter a name, and add
https://api.nango.dev/oauth/callbackunder Authorized redirect URIs. - Click Create and copy the Client ID and Client Secret.
- Copy the Project Number from the Google Cloud console under IAM & Admin > Settings > Project Number.
- Go back to the Google Drive integration in Nango. In the Authorization tab, add:
client_id: from step 6client_secret: from step 6scopes:https://www.googleapis.com/auth/drive.readonly
- In the Endpoints tab, activate
GET /documentsendpoint.
4
Create a OneDrive for Business integration
- Go to Integrations and create a OneDrive for Business integration.
- Register an application in Microsoft Entra admin center:
- Sign in to the Microsoft Entra admin center and search for App registrations > New registration.
- Enter a name (e.g., “Nango OneDrive Integration”).
- Under Supported account types, select Accounts in any organizational directory for multitenant apps.
- Click Register and note the Application (client) ID from the Overview page.
- Go to Authentication > Add a platform > Web and add
https://api.nango.dev/oauth/callbackas the Redirect URI. - Go to API permissions > Add a permission > Microsoft Graph > Delegated permissions and add
Files.Read.All. - Go to Certificates & secrets > New client secret, create a secret, and copy the value immediately (you won’t see it again).
- Go back to the OneDrive for Business integration in Nango. In the Authorization tab, add:
client_id: Application (client) ID from step 4client_secret: Client secret value from step 7scopes: Addoffline_accessand.default
- In the Endpoints tab, activate
GET /user-files/selectedendpoint.
5
Create a OneDrive Personal integration
- Go to Integrations and create a OneDrive Personal integration.
- Register an application in Microsoft Entra admin center:
- Sign in to the Microsoft Entra admin center and search for App registrations > New registration.
- Enter a name (e.g., “Nango OneDrive Personal Integration”).
- Under Supported account types, select Accounts in any organizational directory and personal Microsoft accounts.
- Click Register and note the Application (client) ID from the Overview page.
- Go to Authentication > Add a platform > Web and add
https://api.nango.dev/oauth/callbackas the Redirect URI. - Go to Certificates & secrets > New client secret, create a secret, and copy the value immediately (you won’t see it again).
- Go back to the OneDrive Personal integration in Nango. In the Authorization tab, add:
client_id: Application (client) ID from step 4client_secret: Client secret value from step 6scopes: Addoffline_accessandonedrive.readonly
- In the Endpoints tab, activate
GET /user-files/selectedendpoint.
6
Prepare your env
- Install:
NodeJS,Docker. Then run:
- Copy your Nango Secret Key, found in Environment Settings.
- Create a file to store environment variables and fill in the Nango Secret Key:
- Paste the Project Number you copied in step 7 of the Google Drive integration setup into the .env file as
GOOGLE_PROJECT_NUMBER=your_project_number_here:
7
Transfer Nango webhooks locally
- This command should be running at all time:
- Copy the URL the command gave you and go to Environment Settings. Set Webhook URL to
${URL}/webhooks-from-nango, e.g:https://tame-socks-warn.loca.lt/webhooks-from-nango.
8
Launch
9
Bonus: Deploy custom functions
The above sample app uses pre-built functions, but you can also use custom ones.
- Set up the Nango CLI:
- Add your Nango Secret Key in NANGO_SECRET_KEY_PROD in
./nango-integrations/.env. - Optionally customize the functions using this guide.
- Deploy the custom functions:
File Integration Guide
The sample app includes a complete implementation for integrating file storage providers (Google Drive, OneDrive) with your application. This guide walks you through using and understanding the file integration features.Overview
Nango’s pre-built file integration allows you to:- OAuth Flow: Handle authentication using Nango’s SDK
- File Picker: Let users select specific files and folders to sync
- Document Sync: Sync metadata for selected files and folders
- Document Fetching: Download individual file contents as needed
Requirements
- Docker (desktop) installed & running
- NodeJS & NPM installed
- A Nango account (sign up at nango.dev)
- Integration setup completed (see steps above)
Using the File Integration
After setting up and running the sample app (see steps above), follow these instructions to test the file integration:-
Access the sample app:
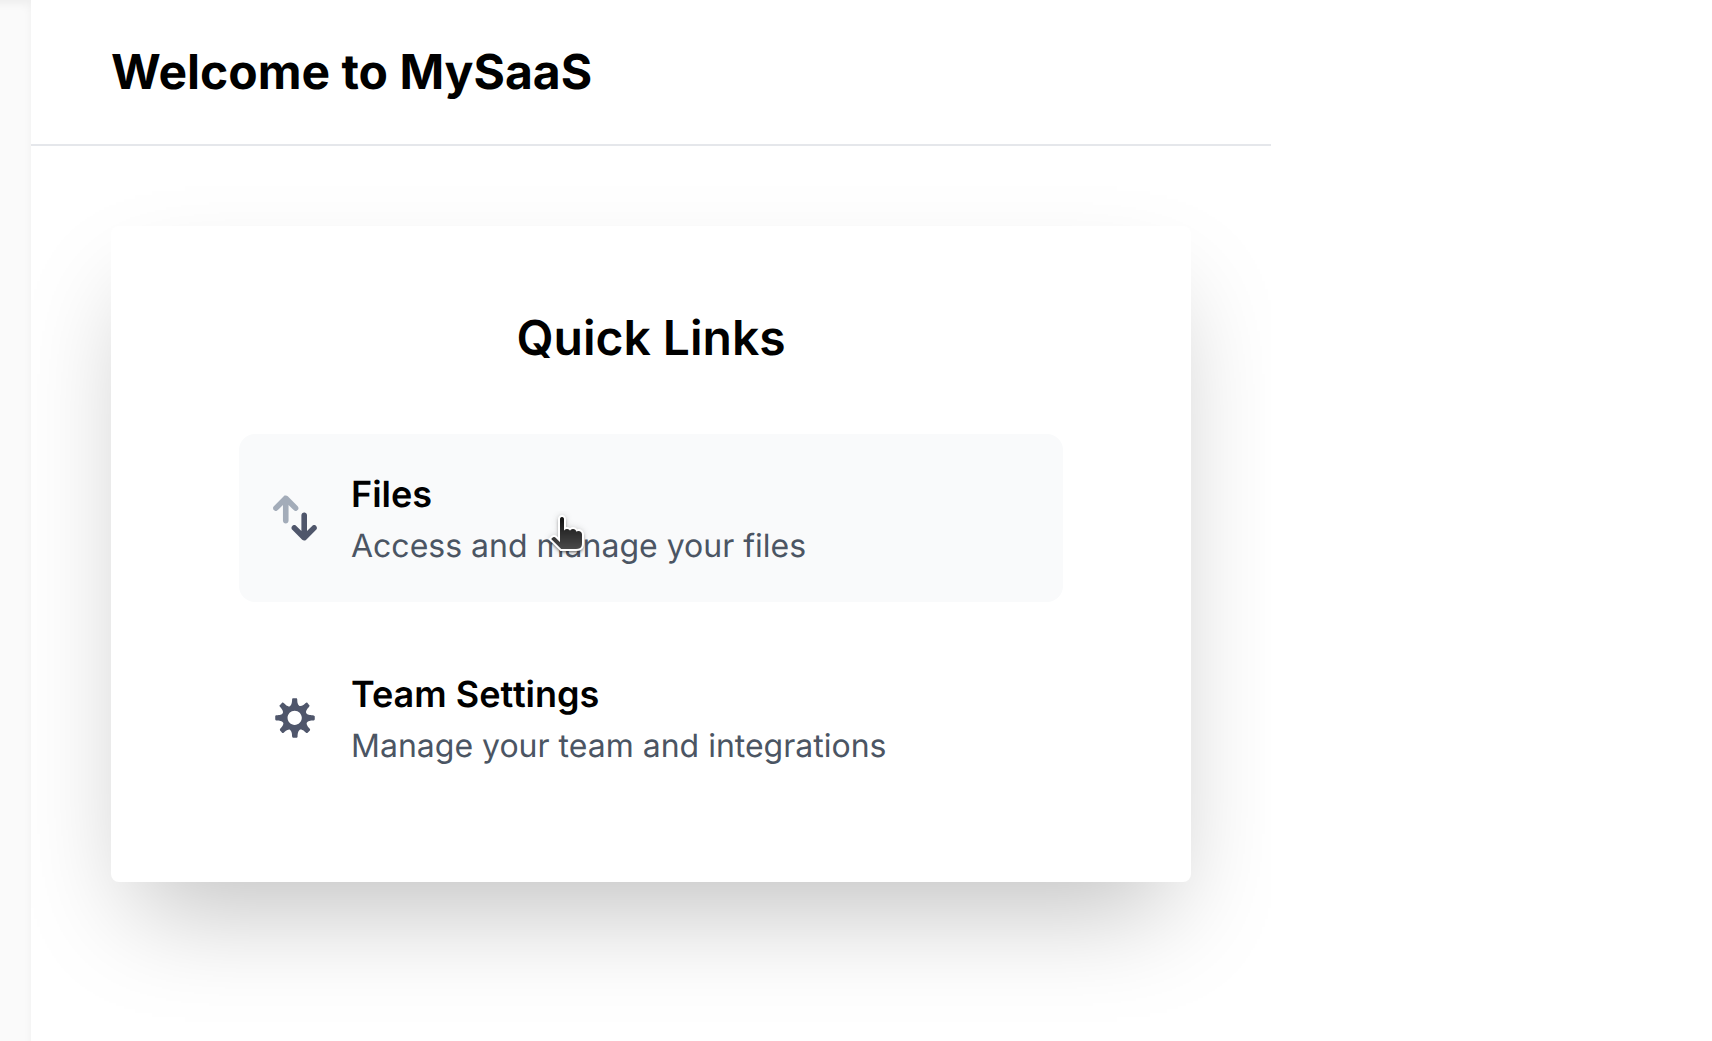
- Open http://localhost:3011
- Click Files to start the file integration
-
Connect your account (Google Drive, OneDrive, etc.):
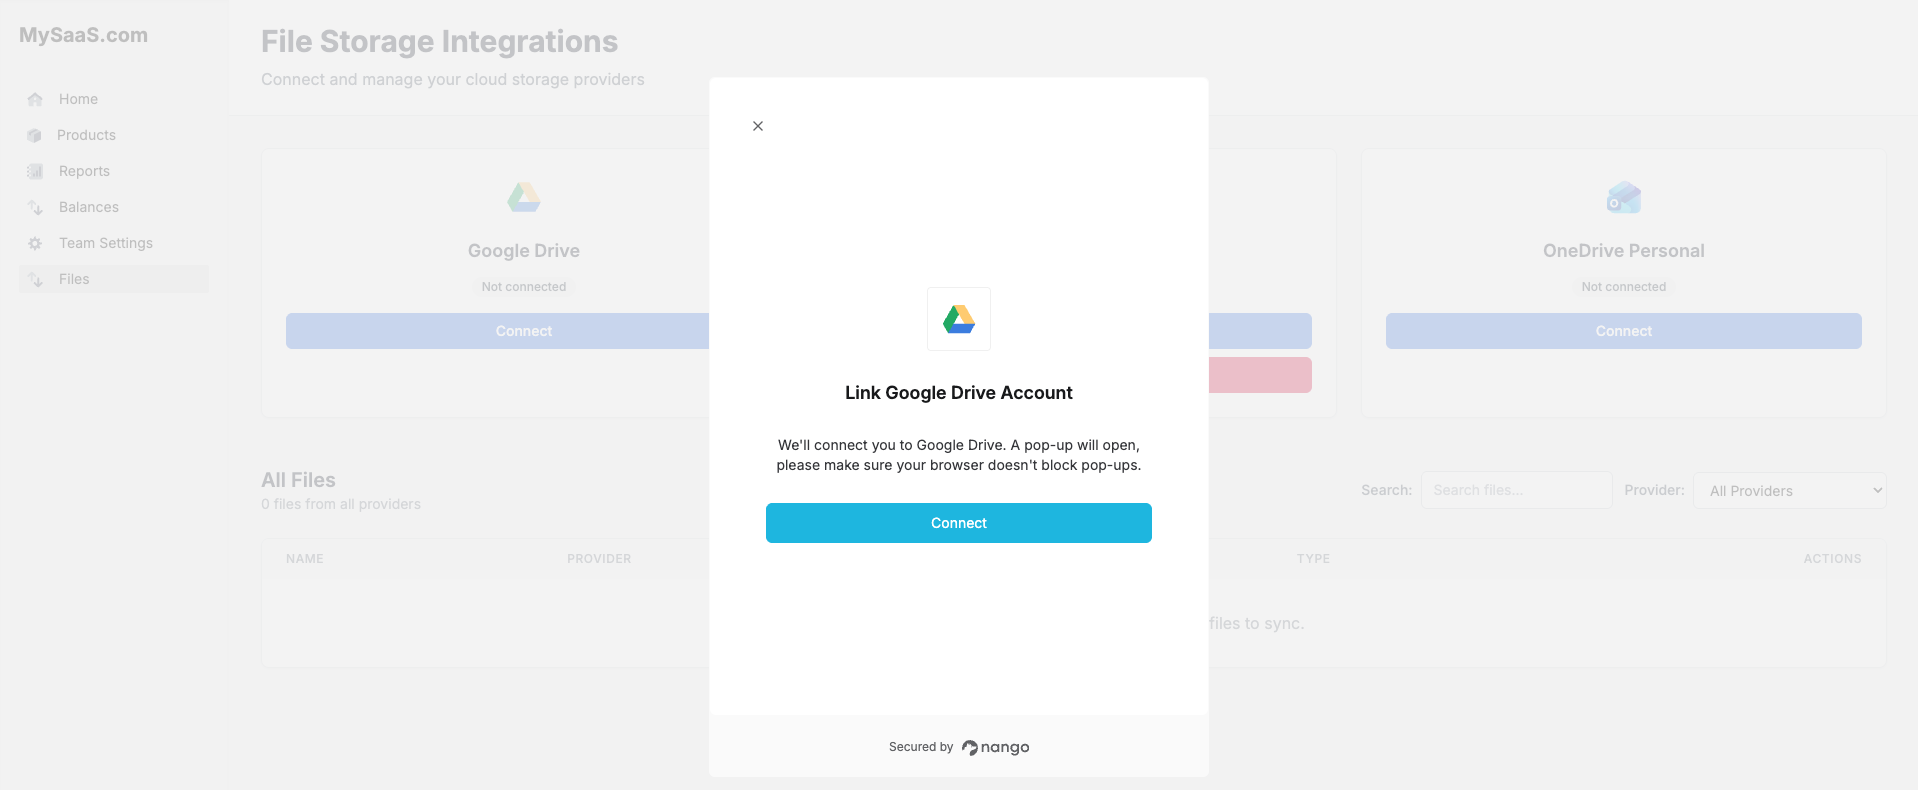
- Click the Connect button on the provider’s card
- In the connection popup, click the Connect button
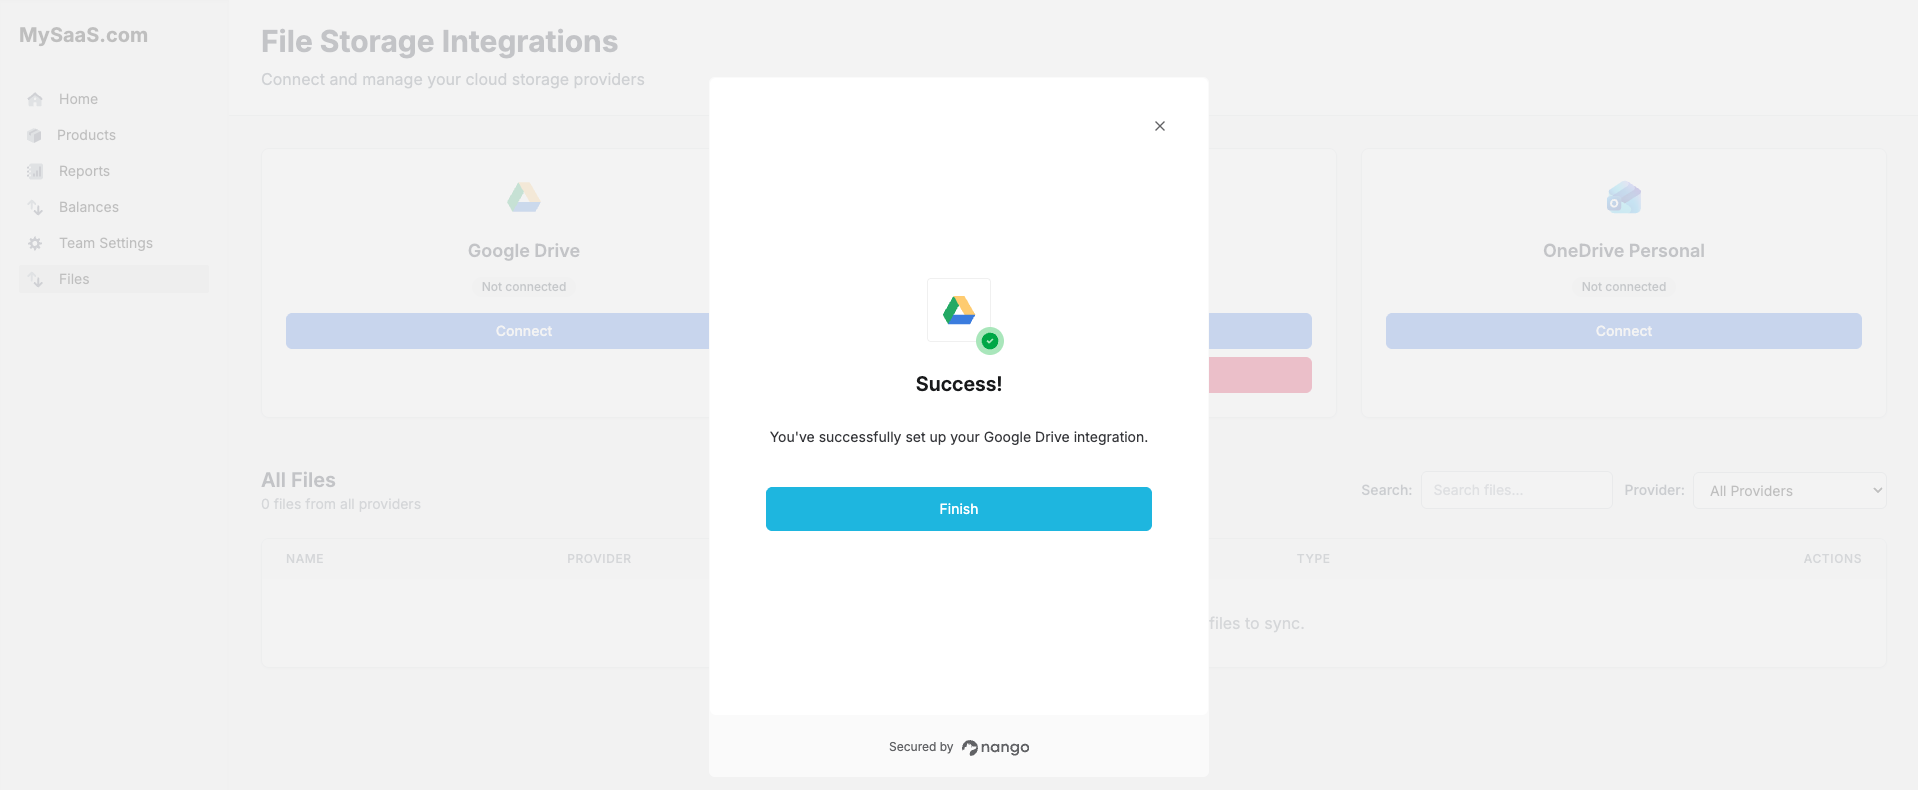
- Select your account and authorize the app
- Click the Finish button to close the modal
-
Select files and folders to sync:
- Click the Select Files from [Provider] button
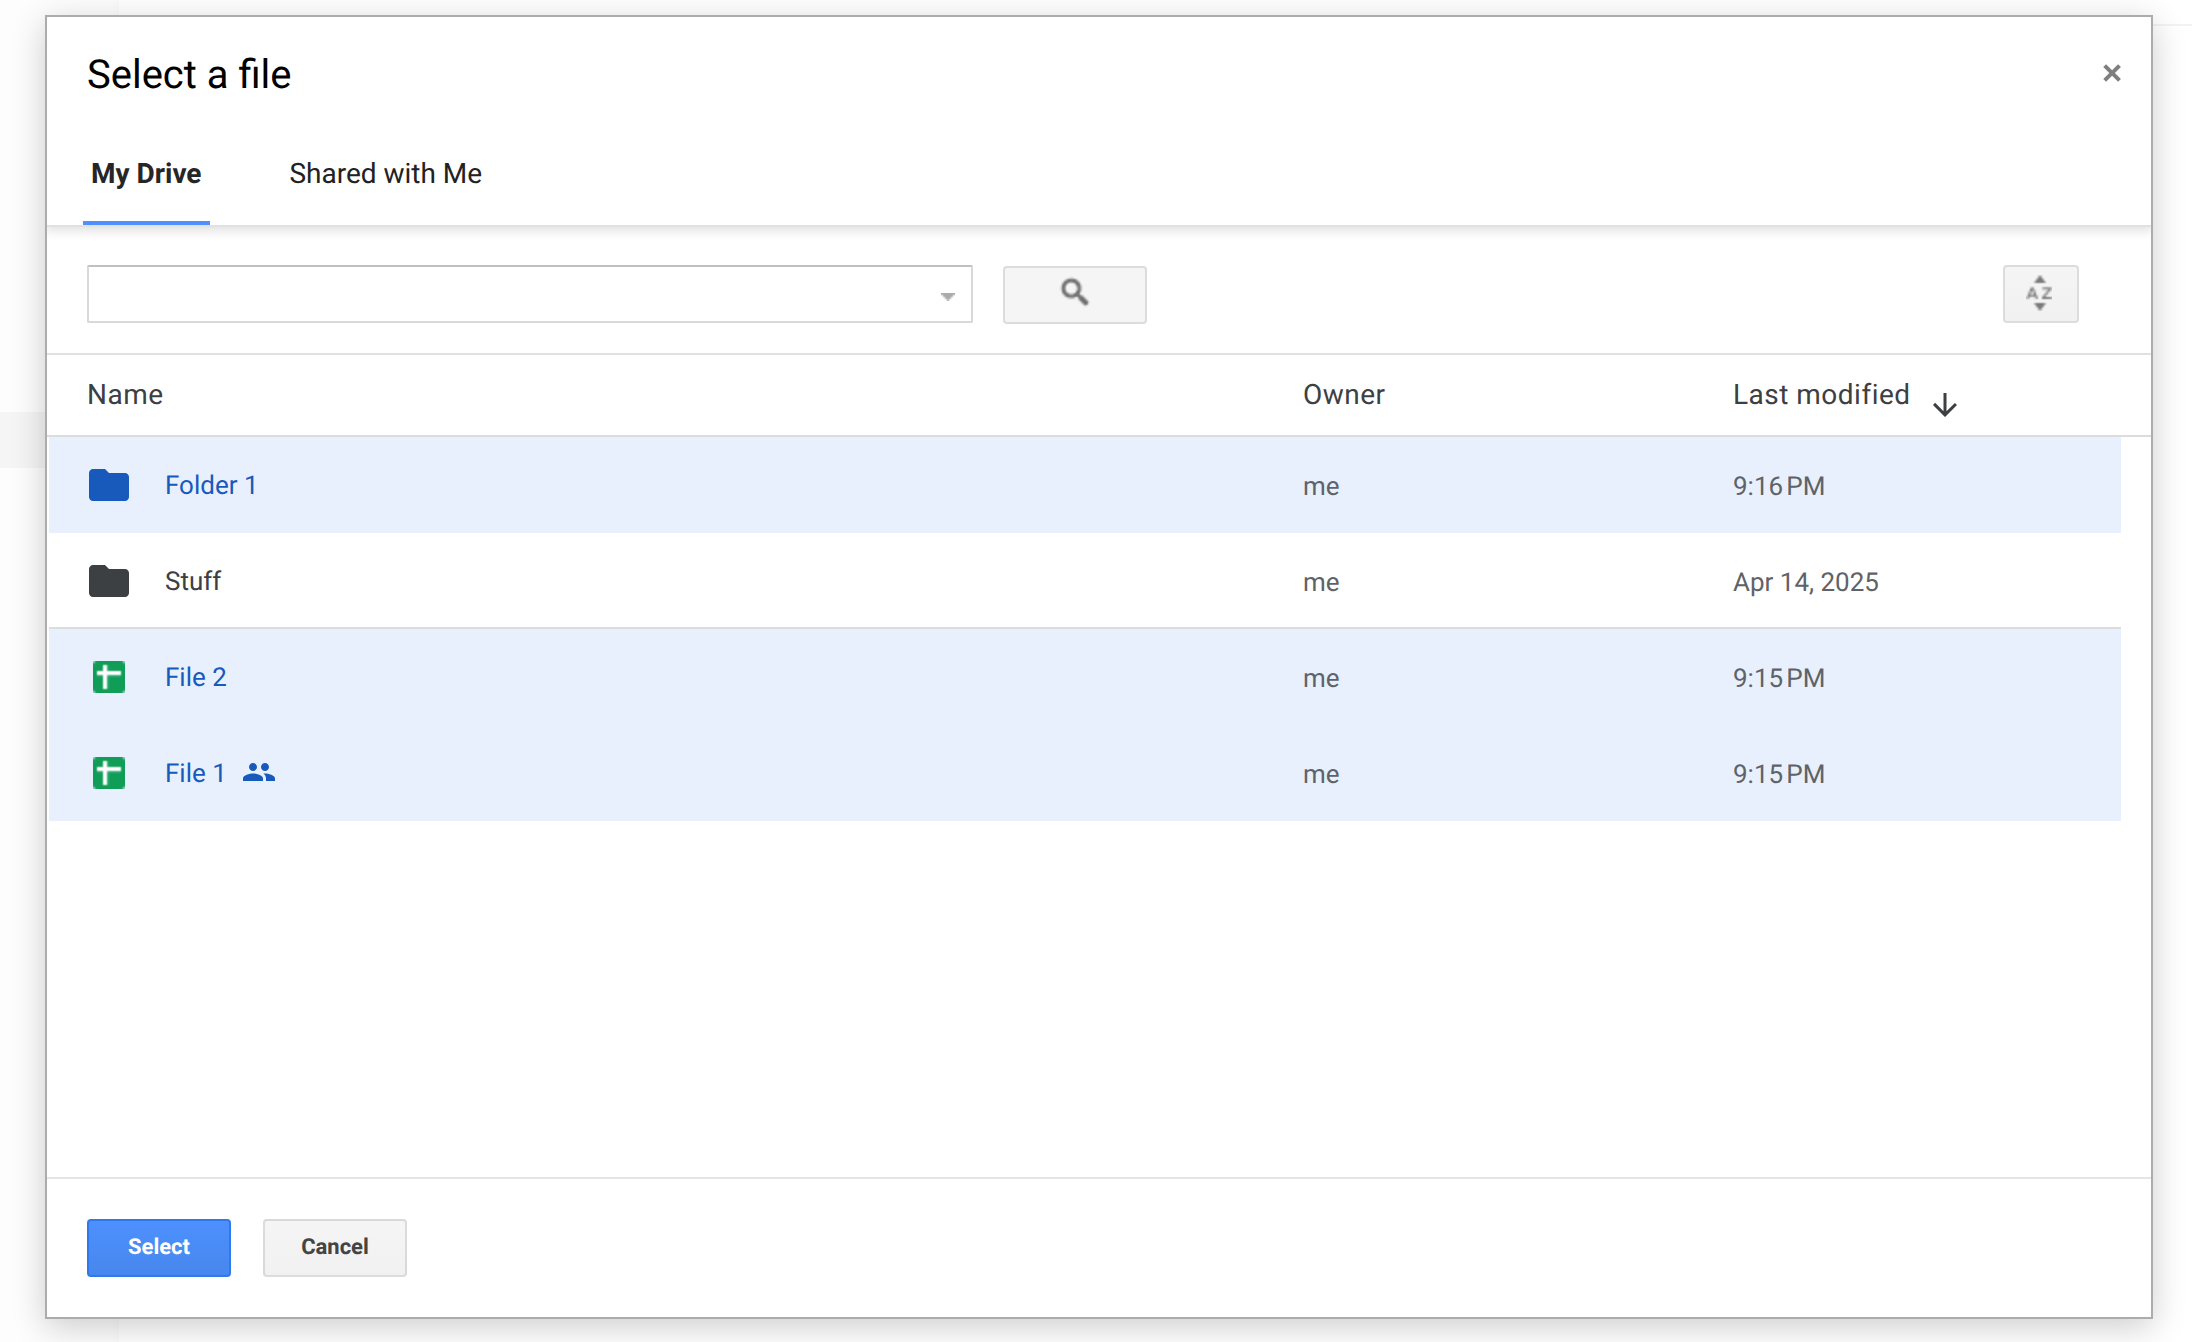
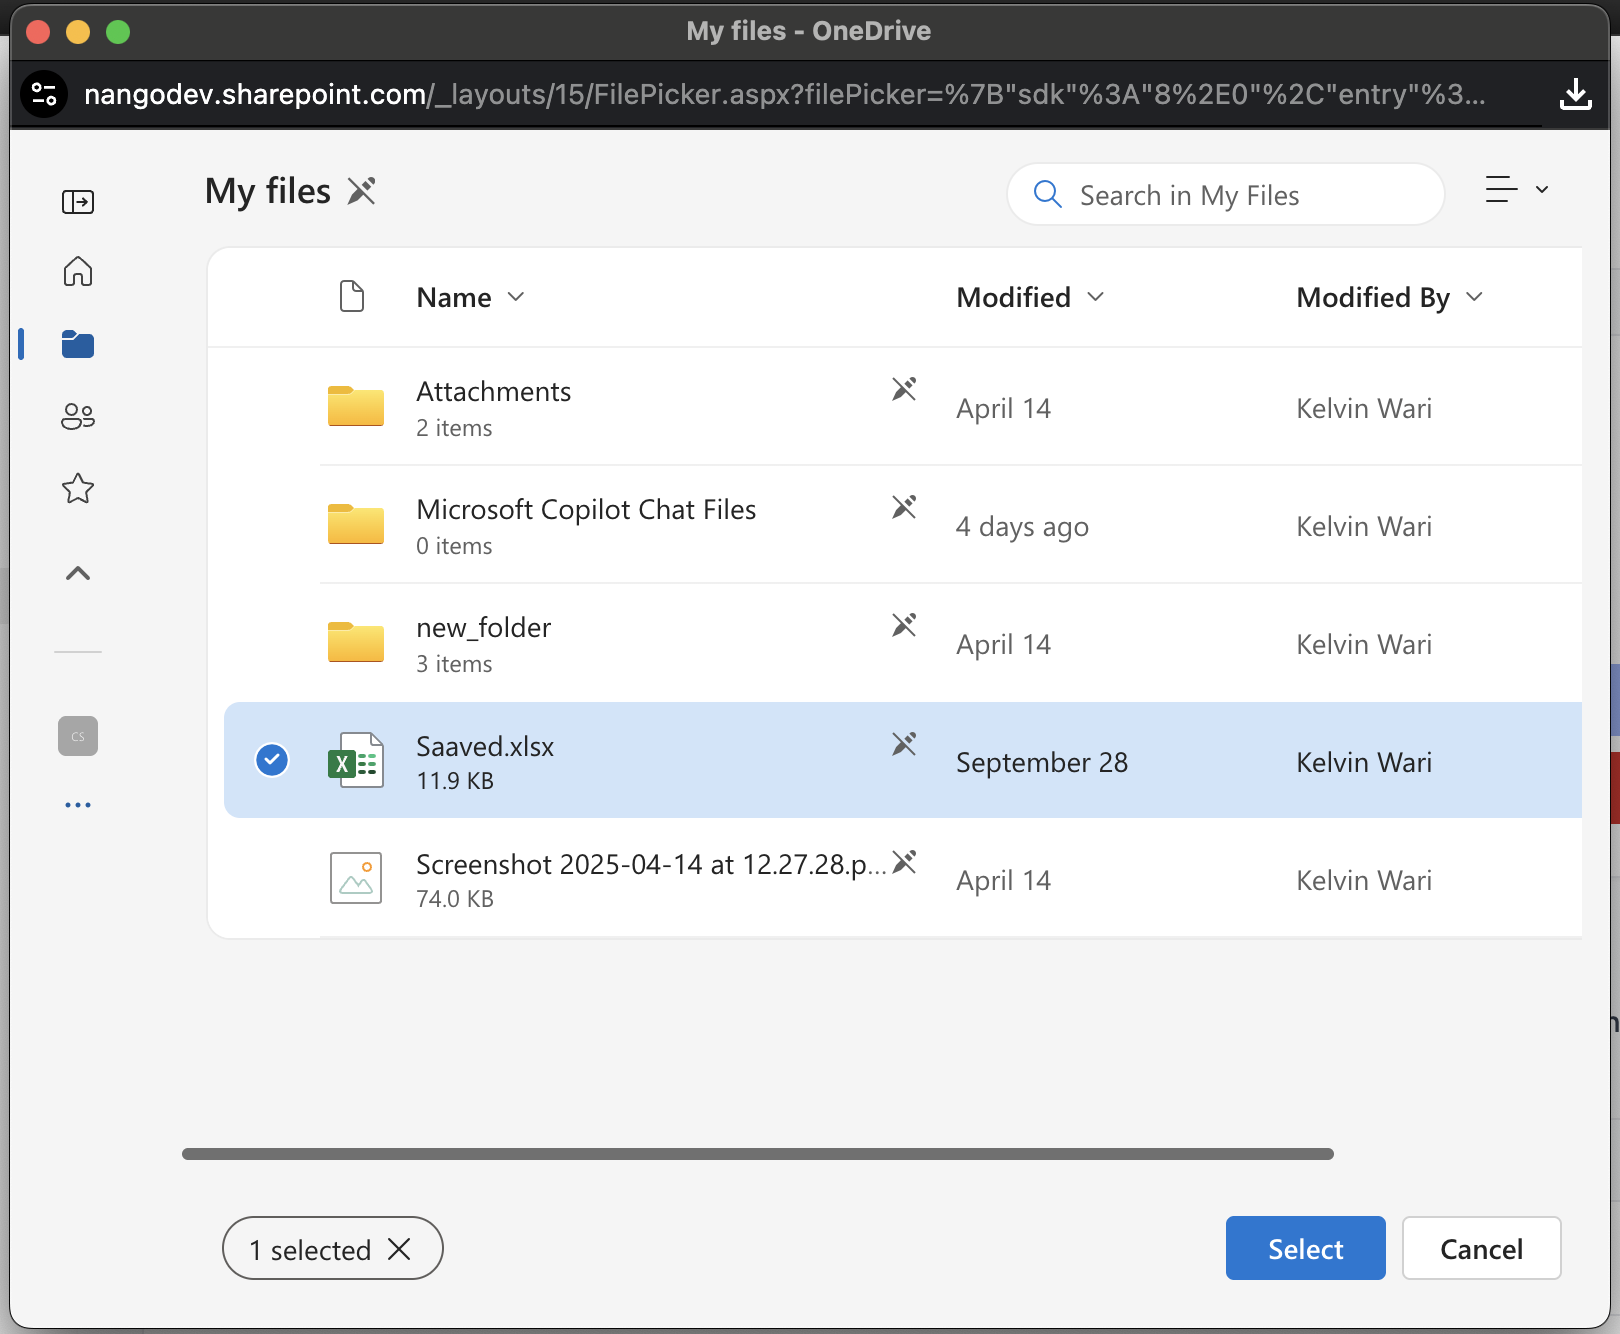
- A file picker modal will appear - note that each provider has its own native file picker:
- Google Drive: Uses Google’s Drive Picker UI
- OneDrive for Business: Uses Microsoft’s file picker for organizational accounts
- OneDrive Personal: Uses Microsoft’s file picker for personal accounts
- Select the files and folders you want to sync using the provider’s file picker
- Click the Select button to confirm your selection
-
View synced files:
- The files and folders will be synced to your Nango account and displayed in the UI

-
Download a file:
- Click the Download button to download the file to your computer
-
Disconnect your account:
- Click the Disconnect button to disconnect your account and delete your connection from your Nango account

What Happens Under the Hood
The sample app uses Nango to:-
Authentication
- Authenticate users with file storage providers
- Show the file picker
- Handle OAuth flow automatically
-
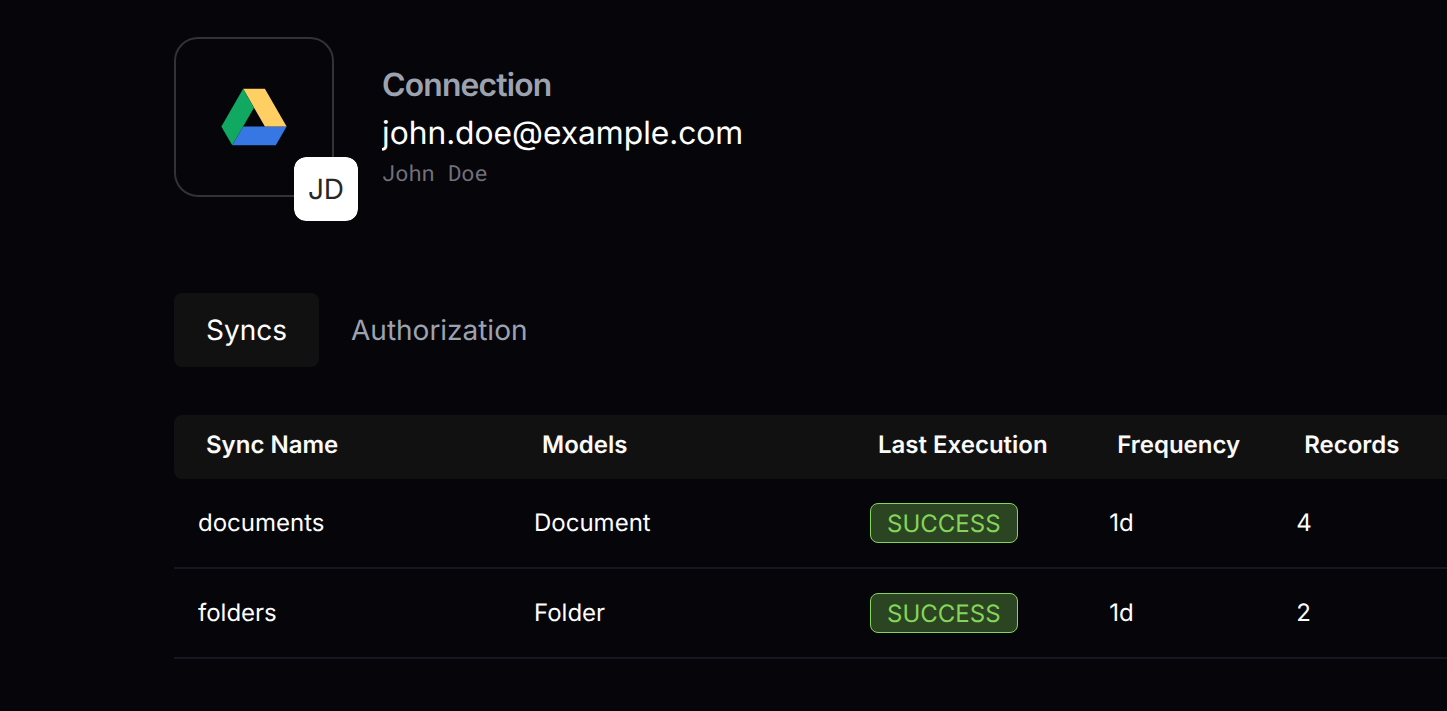
File Syncing
- Sync selected files & folders
- Initial sync on selection
- Periodic updates
-
File Download
- Download raw file content
- Handle different file types
- Use Nango’s proxy for reliable downloads
Key Components
Frontend Implementation
-
Authorization Flow
The authorization process is implemented in
front-end/src/api.ts:postConnectSession: Initiates the OAuth connectiongetNangoCredentials: Retrieves credentials after successful authorization
- Frontend initiates connection via
postConnectSession - Backend creates a Nango connection session
- User is redirected to provider OAuth consent screen
- After authorization, user is redirected back to the app
- User is shown the provider-specific file picker (Google Drive Picker, OneDrive for Business picker, or OneDrive Personal picker)
- Frontend can fetch credentials using
getNangoCredentials
Backend Implementation
-
Webhook Handler & Data Sync
The webhook handling and data sync logic is implemented in
back-end/src/routes/postWebhooks.ts: Key components:- Main webhook handler that verifies signatures and routes requests
handleNewConnectionWebhook: Processes new file provider connectionshandleSyncWebhook: Handles sync completion and data processing
- Nango syncs files from the provider
- Webhook notifies backend of sync completion
- Backend fetches records using
nango.listRecords - File metadata is stored in the database
- Deletions are tracked and handled appropriately
-
File Download with Proxy
File download functionality is implemented in
back-end/src/routes/downloadFile.ts: The download process:- Frontend requests file download with file ID and connection ID
- Backend uses Nango proxy to fetch file from provider
- File is streamed to client with proper headers
- Error handling ensures graceful failure
- Uses Nango proxy for secure file access
- Proper content type and disposition headers
- Streaming response for efficient file transfer
- Comprehensive error handling
Nango Dashboard
Explore these sections in your Nango account:-
Integration Settings
- View Integrations
- Configure sync settings
- View integration status
-
Connections
- View Connections
- Monitor sync status
- Check connection health
-
Logs
- View Logs
- Track sync operations
- Debug issues
Common Issues and Solutions
-
Connection Issues
- Check Docker is running
- Verify webhook URL is correct
- Ensure provider credentials are valid
-
Sync Problems
- Check Nango logs
- Verify file permissions
- Monitor sync status
File Type Support
The sample app supports all file types through Nango’s proxy:- Regular files (PDFs, images, documents, etc.)
- Google Workspace files (Docs, Sheets, Slides)
- Microsoft Office files (Word, Excel, PowerPoint)
- Other cloud storage file types
Questions, problems, feedback? Please reach out in the Slack community.